A resistance band can train the major muscle groups in a small space, but it needs to be treated as exercise equipment rather than an indestructible toy. Check it for cracks, secure every anchor and choose tension that lets you control the return. Done that way, bands are a genuine strength tool: a 2019 systematic review and meta-analysis in SAGE Open Medicine found that training with elastic resistance produced strength gains similar to training with conventional weights and machines.
- Resistance Band Workout for Beginners: Safe Setup
- The full body beginner session
- Choosing the right resistance
- Controlling the return phase
- How to modify each major movement
- How to progress over four weeks
- Why progress is harder to track with bands
- Bands, dumbbells or body weight
- Where bands are less helpful
- Cleaning and replacing bands
- Reviewing the programme after four weeks
- Frequently asked questions
- Sources
Resistance Band Workout for Beginners: Safe Setup
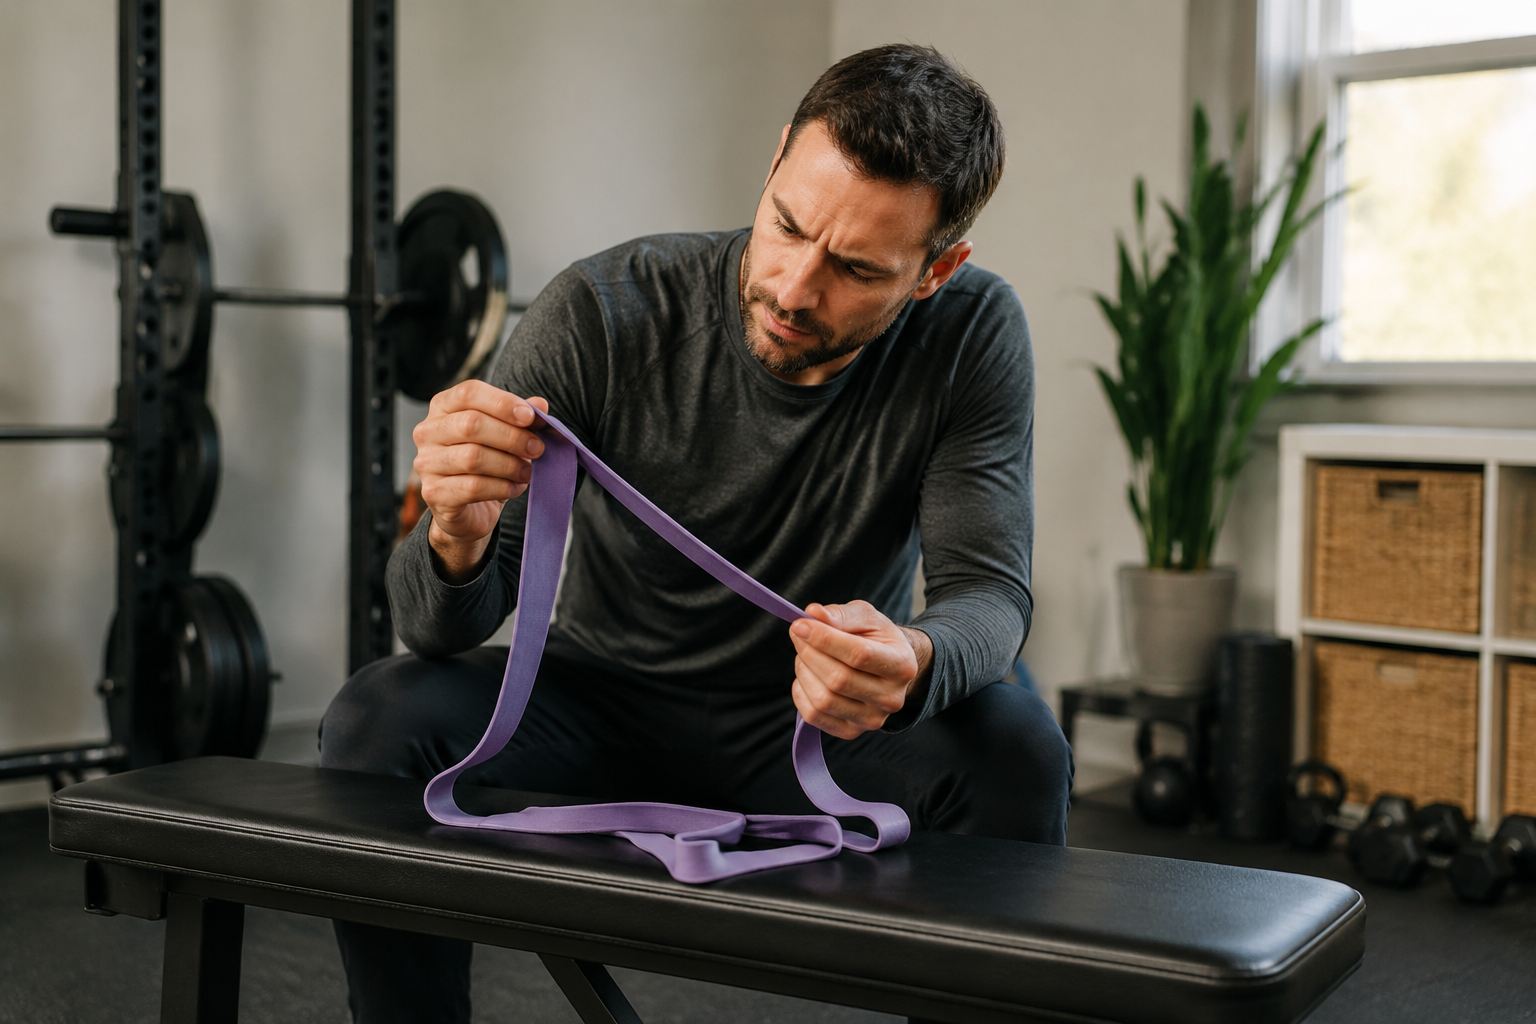
Start with one light and one medium loop or tube band. Replace any band with splits, thinning or a chalky damaged surface, and do not wrap a band around a sharp edge. A door anchor can be useful, but only if it is designed for bands and sits on the side of the door that closes against the frame, so your pull cannot open it. Lock the door when possible, tell other people that you are exercising, and test the setup with gentle tension before stepping into position.
For a fixed post, check that it is smooth, stable and unable to move. Do not use radiators, light furniture, sharp railings or anything that could cut the material. Keep the band out of direct sun and excessive heat during storage.
The full body beginner session
Warm up with three to five minutes of easy walking and unweighted versions of the movements. Perform one set of each exercise in week one, then build to two sets.
- Band squat, 8 to 12 repetitions: Stand on the band and hold the ends near your shoulders. Sit back within a comfortable range.
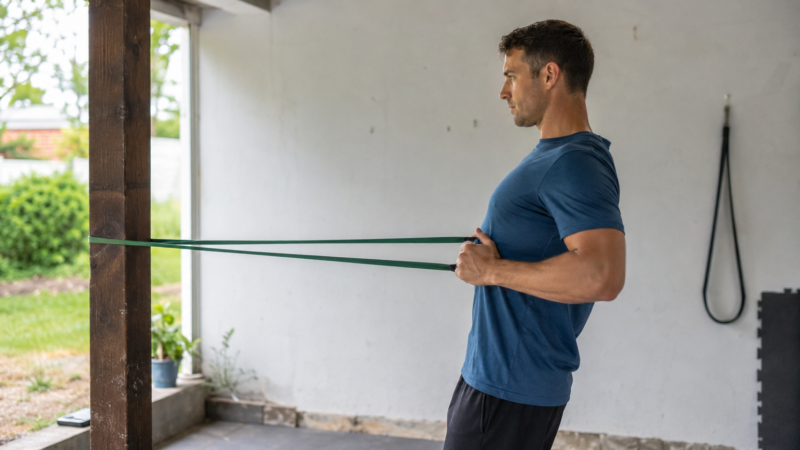
- Standing row, 8 to 12: Secure the band in front of you and pull your elbows towards your ribs without leaning backwards.
- Chest press, 8 to 12: Anchor behind you at chest height and press forward. Stagger your stance for stability.
- Hip hinge, 8 to 12: Stand on the band, hold the ends and push your hips back while keeping the band close to your legs.
- Overhead press, 6 to 10: Stand on a light band and press upwards only if your shoulders tolerate the movement. A forward press is an alternative.
- Pallof press, 6 to 10 per side: Stand sideways to a secured band, hold it at your chest and press forward without rotating.
- Calf raise, 10 to 15: Hold a chair for balance; the band is optional.
Choosing the right resistance
The final repetitions should feel challenging while your movement remains smooth. Finish with roughly two or three good repetitions still available. Shortening a band increases tension, sometimes dramatically, so make small adjustments and keep your face out of the band’s recoil path.
Long loop bands are useful for rows, presses and assisted movements. Tube bands with handles can be comfortable for pulling exercises, while small fabric loops suit some lower body exercises. Colours do not indicate a universal resistance level, because they are not standardised between manufacturers, so compare bands only within the same product range. A set with small jumps between levels is easier to progress than one very light band and one extremely heavy band.
Controlling the return phase
The band pulls harder as it stretches. Beginners often focus on the outward movement and allow the band to snap back. Return slowly until the band has only light tension. This protects the equipment, improves control and keeps the movement deliberate.
Stand far enough from the anchor to maintain tension without stretching the band beyond the manufacturer limit. If you must lean dramatically to begin, select a lighter band or move closer.
How to modify each major movement
For a squat, place a chair behind you and shorten the range. For a row, sit upright if standing balance is uncertain. For a chest press, perform a wall push up when anchoring behind you is not practical. For an overhead press, use one arm at a time or replace it with a forward press if the shoulder is uncomfortable.
The plan should adapt to the person, not the other way around. Sharp pain, sudden weakness or loss of control means stop the set and reconsider the movement.
How to progress over four weeks
- Week 1: one set, twice weekly.
- Week 2: two sets for movements that feel comfortable.
- Week 3: add one or two repetitions.
- Week 4: move to a slightly stronger band for selected exercises.
The CDC recommends muscle strengthening work for all major muscle groups on at least two days each week. Bands are one way to do that; dumbbells, machines and body weight exercises also work.
Why progress is harder to track with bands
With a dumbbell, progress is self documenting: the number is printed on the side. A band gives you no equivalent. The tension depends on how far you are standing from the anchor, and the same band can deliver very different resistance depending on your stance. Two sessions can differ substantially while looking identical in a notebook.
The fix is to record the things that actually determine the load. Note the brand and colour, where your feet were placed, how far you stood from the anchor, and the tempo you used. A small piece of floor tape marking your stance turns a vague setup into a repeatable one, and it costs nothing.
Then progress one variable at a time. Move slightly further from the anchor, or slow the return, or add repetitions, or step up a band. Changing two at once produces a session that feels much harder for reasons you cannot identify, which is how people end up concluding that bands do not work when what happened is that the jump was too big.
Bands, dumbbells or body weight
These are usually discussed as rivals, which is unhelpful, because they fail and succeed at different things. The useful question is not which is best but which suits the constraint you actually have.
| Resistance bands | Dumbbells | Body weight | |
|---|---|---|---|
| Cost and storage | Cheap, fits in a drawer, packs for travel | Expensive in useful increments, needs floor space | Free, needs nothing |
| How the load feels | Lightest at the start, hardest at full stretch | Consistent through the whole movement | Varies with leverage and body position |
| Tracking progress | Difficult, since colours are not standardised | Easy, the number is on the weight | Moderate, counted in reps and variations |
| Best for | Pulling movements, travel, small spaces, easing into loading | Precise progression, lower body strength | Getting started, and squats and push ups in particular |
| Weakest at | Heavy lower body work, measuring what you lifted | Portability and cost | Loading the back and progressing pulls |
The row that matters most is the second. A band is easiest at the point where a muscle is usually most stretched and hardest at the point where it is shortest, which is close to the opposite of how a dumbbell behaves. That is not a flaw, but it does mean a band row and a dumbbell row are not the same exercise, and swapping one for the other changes where the work lands.
In practice most home setups end up mixed. Bands cover the pulling movements that are awkward without a machine, body weight covers squatting and pressing, and one or two dumbbells fill the gaps. That combination costs very little and removes most of the reasons a session gets skipped.
Where bands are less helpful
Because band tension changes through the movement, precise loading is difficult, and a band cannot correct technique. If you are recovering from injury, have significant joint pain or are unsure how to anchor it, supervised instruction may be worthwhile. There is also a point at which bands stop being the right tool: if your legs are strong enough that squats and hinges need more resistance than a band comfortably provides, the answer is to add load rather than to stretch a light band beyond what it was built for.
For a no band alternative aimed at later adulthood, use our home strength plan after 50. To balance strength with aerobic and stability work, see the longevity exercise framework.
Cleaning and replacing bands
Follow the manufacturer cleaning instructions. Harsh solvents, excessive heat and abrasive scrubbing may weaken some materials. Allow bands to dry fully before storage and avoid knots that create concentrated wear. Replacement timing depends on use and condition, not a universal calendar. Discolouration alone may not indicate failure, but cracks, thinning, sticky deterioration or damaged handles are reasons to stop using the band.
Reviewing the programme after four weeks
List the exercises that became smoother, the bands used and any movement that remained uncomfortable. Progress the successful movements and replace exercises that repeatedly create problems. A programme is allowed to change as you learn. If every exercise feels easy, a stronger set of bands or another resistance method may be appropriate. If fatigue remains high, reduce the number of sets and review recovery before increasing tension.
Frequently asked questions
Can bands build strength?
Yes. Muscles respond to sufficiently challenging resistance, and pooled trials show elastic resistance can match conventional weights for strength gains, although bands may eventually become inconvenient for measuring heavier loads.
How long should the workout take?
One round may take 15 to 20 minutes; two controlled rounds often take 25 to 35 minutes.
Can I train on consecutive days?
Beginners generally benefit from at least one recovery day between full body sessions. Light walking or mobility work can be done between them if comfortable.
Sources
- Lopes JSS et al., SAGE Open Medicine (2019): Effects of training with elastic resistance versus conventional resistance on muscular strength
- CDC: Physical activity guidelines for adults
Sources checked 19 September 2026.